In order to set up a buy button you need to have ecommerce added to your account, if you do not already have an ecommerce terminal id assigned. Please reach out to our support team for assistance with this.
Step 1 - Ensure you are working on the right terminal ID.
If you have multiple terminal ID’s- Using the dropdown terminal menu on the top right select Internet.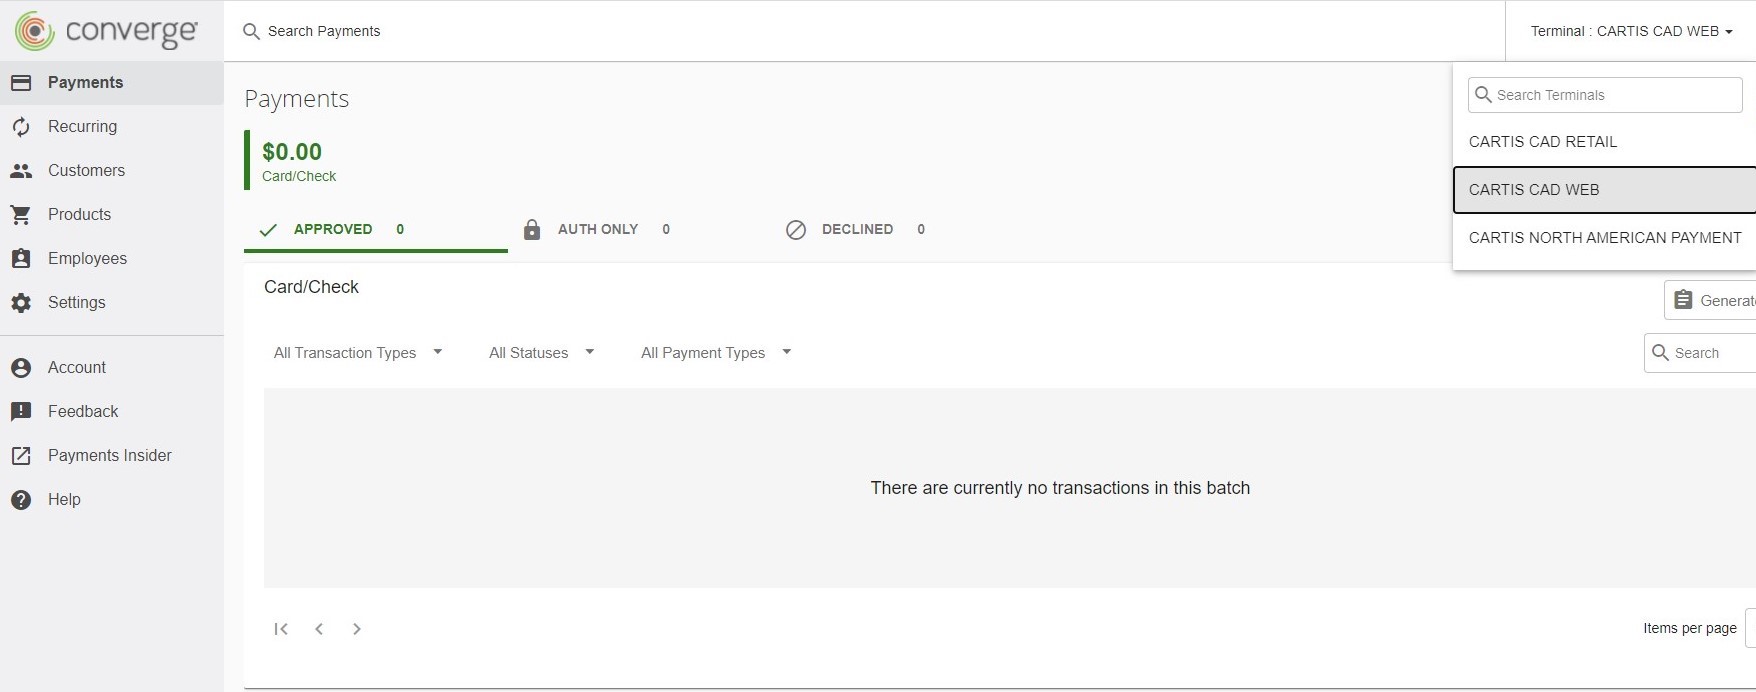
Step 2 - Set Fraud Filters
You will be required to set fraud filters (Daily, Hourly, Hourly velocity by IP address) prior to being able to create a buy button.
These are fraud prevention rules (ie. How many transactions are allowed per hour/day etc. through this terminal ID.)
Step 3- Customizing Hosted Payment Page
When cardholders click on your button or link, they are redirected to the Converge hosted payment page to enter in their information. Depending on the information you want to capture, you can customize what is displayed on the payment page. The payment page must be setup PRIOR to creating the button /link. See How To: Customize Converge Hosted Payment Page (HPP) to configure your payment page.
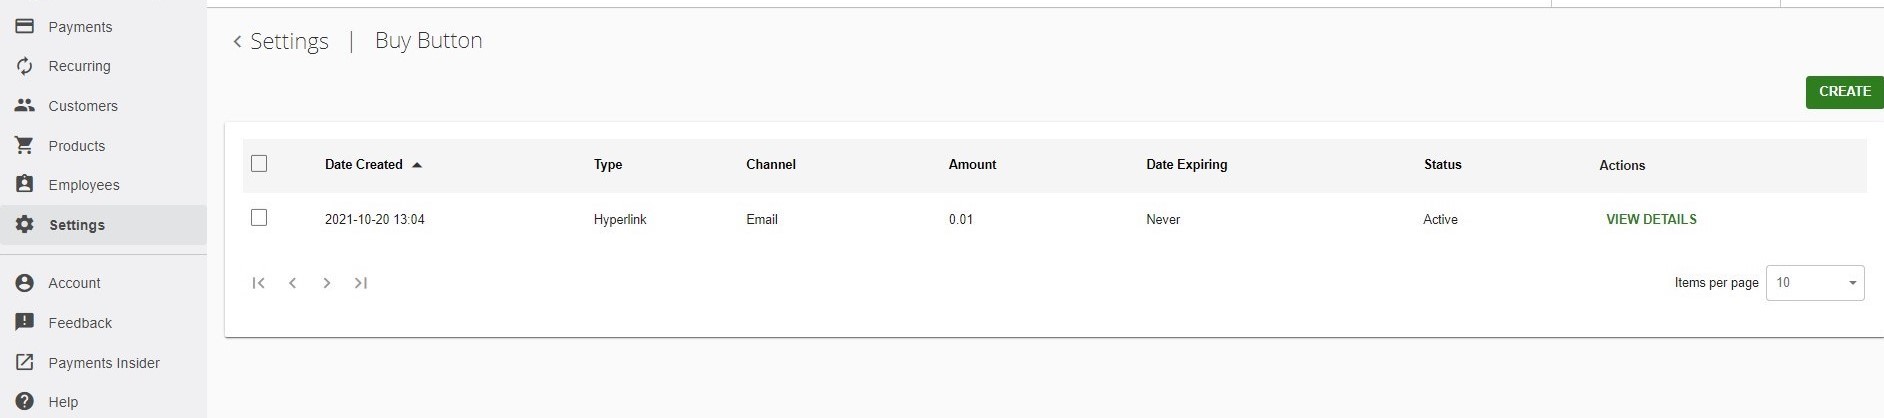
Step 4 - Creating the Button / Link
Select settings from the left hand menu, then select Buy Button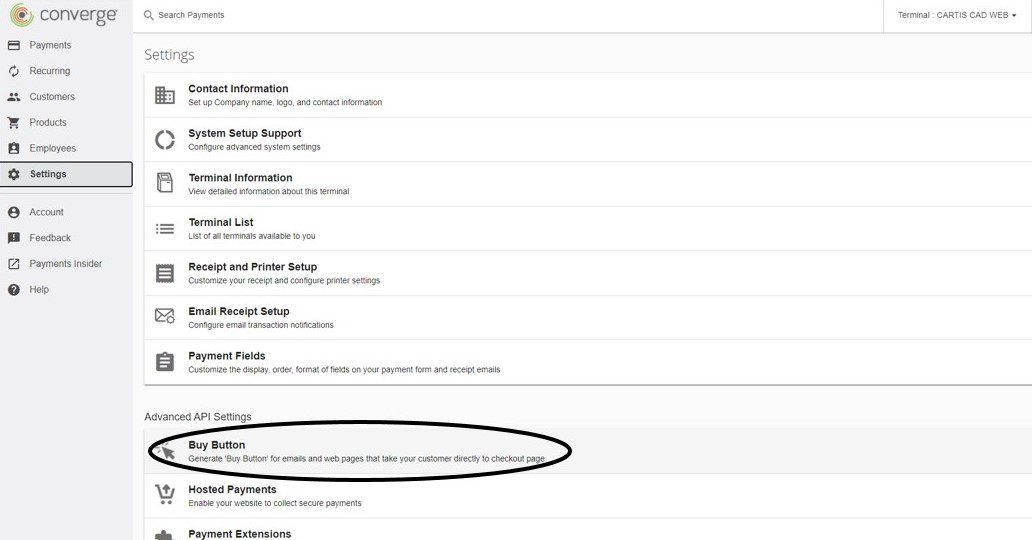
Press CREATE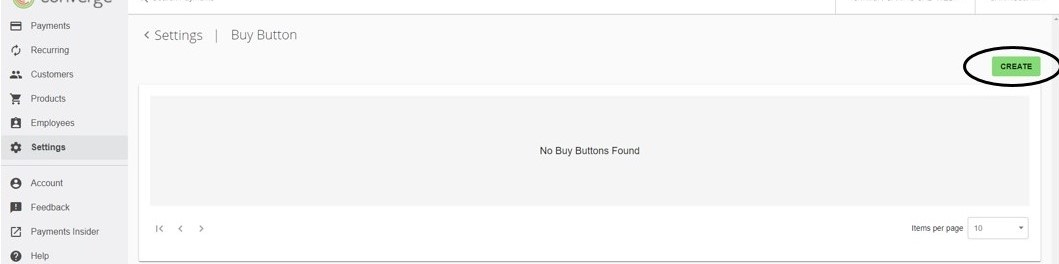
If you have not already set your fraud rules, you will be prompted to enable them now.
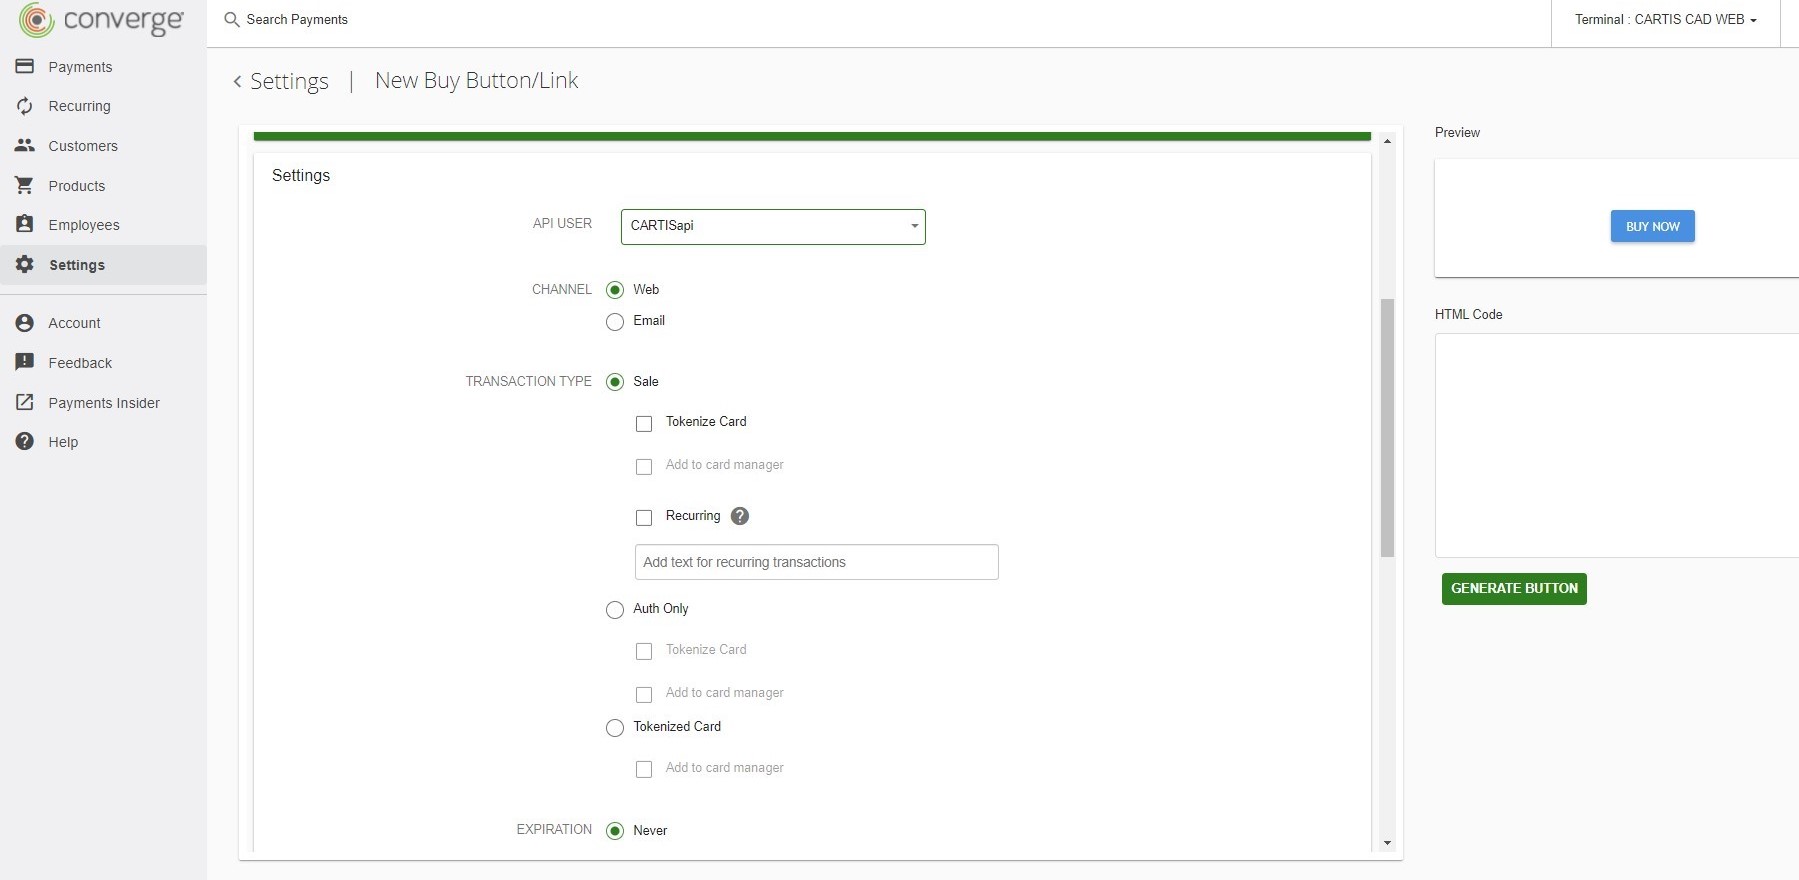
Step 5 - Configuring the Buy Button / Link
Set Pricing Option - This can either be a set amount (Set fixed price) or an open amount that the cardholder enters (Allow buyer to input price).
(If creating a set amount, you will need to create a separate button for each amount.)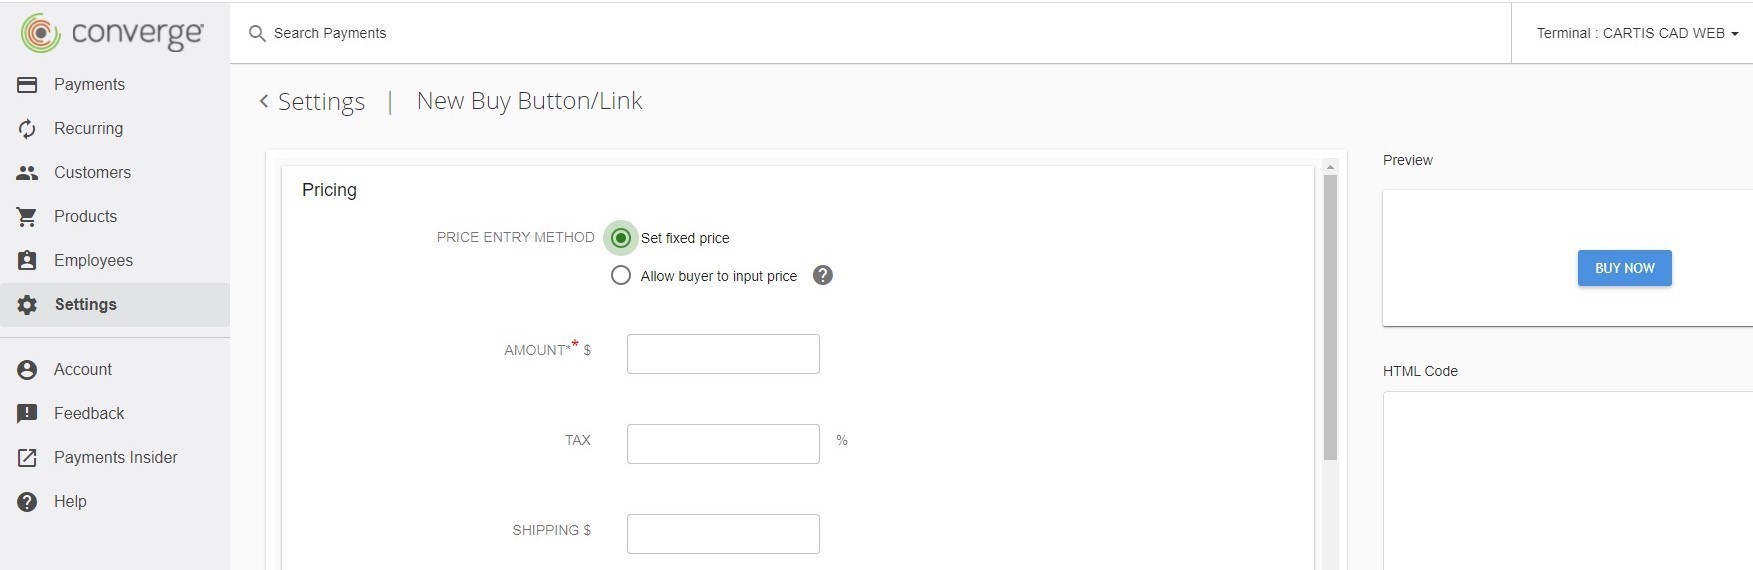
Set Channel - Web or Email - depending if posting this on a website or sending it as payment link in email.
Set Transaction Type - (i.e. Auth Only, Sale, Tokenize Card) depending on how you will be using the link/button.
Under the chosen transaction type depending what options / features are enabled on your account you will have other options to select - tokenize card, make recurring or add to card manager.
Set Expiration - can be set to never expire, be a one-time payment link or expire at a set date.
Directs To - Select Hosted Payment Page - to direct to Elavon's Converge payment page.
Step 6 - Design the Buy Button / Link
Select Type - Choose whether it will be a button (i.e. placed onto website) or a hyperlink (i.e. sent by email)
If selecting button - Set the text to display and if desired, configure the font and colors of the button (tip: you can Google hex color or color codes) 
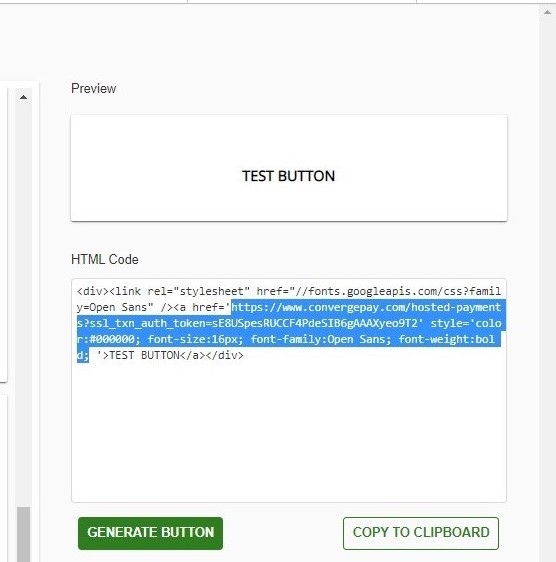
Step 7 - Generate the button / Link
Click GENERATE BUTTON - the HTML code will populate in the box.
If you chose hyperlink: copy the text that is in between the quotations only and send it out it in your emails. [Tip: create a dedicated email signature with the words click to pay and insert hyperlink so when your customers click those words it will direct them to your payment page]
If you chose button: paste the HTML wherever you need it to be on your website by accessing your website's source code.
If you make any changes to settings after you generate the code, you will need to generate the button again to get the most recent link.
The button you created will now display in the buy button screen, where you can view details and the html. Delete unneeded buttons/links or create additional ones.
Step 8 - Website Review
Whenever the cardholder is inputting their own credit card on a payment page this is considered eCommerce transactions and the payment page must be reviewed by a website review compliance team to ensure it is in compliance with card brand regulations. The main requirements are to have your business name and contact information displayed on the payment page. The final step, is to send us your link to have reviewed.